
Last updated November 17, 2026
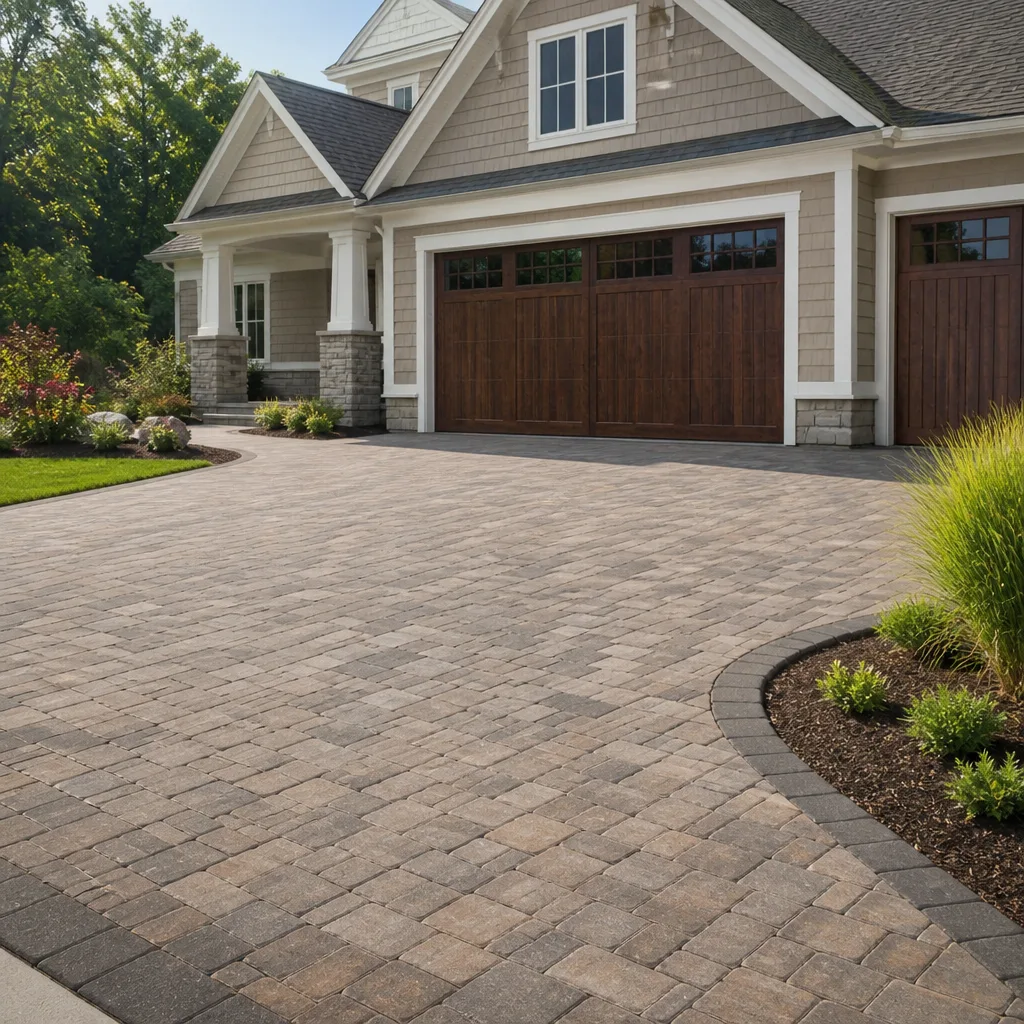 Driveway & pavers
 Kitchen remodeling
 Bathroom remodeling
 Home additions & ADU
 Roofing
 Windows & doors
 Fence
Free written scope consultation - allowances, timeline, and change-order rules on paper before a single trade is scheduled
Driveway & Pavers Troubleshooting in North Miami Beach: Common Problems and How to Fix Them
If your pavers are sinking in the same spot every rainy season, the paver itself is innocent. The culprit is almost always a base that was compacted dry and never accounted for the soil saturation that happens every June through October in South Florida. Homeowners spend money on sand, sealer, and sometimes replacement stone and watch the same depression return by the next summer. This guide walks through how to tell a surface problem from a base problem, how to read efflorescence, roots, and joint failure, and when a North Miami Beach driveway needs a full pull-and-reset rather than another bag of sand.
Quick Answer
Most driveway paver problems in North Miami Beach trace back to a base layer that was installed too thin, compacted at the wrong moisture content, or laid over soil that moves with the summer water table. Surface fixes like polymeric sand reapplication resolve joint erosion and minor settling, but if a paver depresses more than about a quarter inch underfoot after rain, the repair is a partial or full pull-and-reset with a properly compacted base. Cosmetic issues such as white efflorescence on travertine and concrete pavers are usually harmless and clean up without damaging the surface.
Styles & brands we work with
- Kitchen remodeling
- Bathroom remodeling
- Home additions & ADU
- Roofing
- Windows & doors
- Driveway & pavers
- Fence
Table of Contents
- How Do You Diagnose a Paver Problem in North Miami Beach?
- The Water-Drain Test: Surface Failure vs. Base Failure
- Why Efflorescence Looks Alarming (and Usually Isn’t)
- Root Intrusion from Ficus and Royal Poinciana
- The Play Sand Mistake in the Bedding Layer
- How to Re-Set a Single Paver Without Voiding a Warranty
- When to Call a Professional vs. When to DIY
- What Does Driveway Paver Repair Cost in North Miami Beach?
How Do You Diagnose a Paver Problem in North Miami Beach?
Diagnosis starts with where the problem sits, not what it looks like. A joint that opens at the surface and a paver that rocks underfoot can look similar from standing height, but they call for completely different repairs. The first step is to identify which layer has failed: the joint sand, the bedding layer, the base aggregate, or the subgrade soil beneath it.
Walk the driveway barefoot or in thin-soled shoes after a dry stretch. Pay attention to how the surface feels, not just how it looks. Then run through this checklist:
- Joint sand loss: Visible gaps between pavers where the sand has washed out. The pavers themselves sit flat and don’t move when stepped on.
- Bedding layer failure: Individual pavers rock or tilt when weight is applied, but neighboring pavers stay put. Joint sand migrates out quickly after rain.
- Base failure: A depression spanning several pavers, often in a bowl shape. The whole area flexes together. Standing water pools after rain and drains slowly.
- Subgrade failure: The depression deepens each season, returns within a year of any repair, and often runs in a line toward the lowest point of the lot.
In North Miami Beach, the summer water table rises substantially during the June through October wet season, and lots with shallow water tables or former fill areas are more prone to subgrade movement. That’s why a depression that gets patched in February comes back by July. A common mistake we see is diagnosing the paver itself as defective when the paver never had stable ground under it to begin with.
If you’re planning more than a spot repair, this is also the moment to look at the full scope of driveway & pavers work for your property, since re-bedding a section usually reveals what the rest of the surface is doing too.
The Water-Drain Test: Surface Failure vs. Base Failure
The water-drain test is the fastest way to tell whether you’re looking at a joint problem or a base problem. Pour a bucket of water slowly onto the suspect area and watch how it drains, where it pools, and whether the pavers move underfoot as the water soaks in. The test takes ten minutes and tells you more than a visual inspection.
- Pick a dry day and a dry driveway. Don’t run this test after rainfall, since the surface won’t drain the way it does from dry.
- Pour one to two gallons slowly over the low spot. A garden watering can works better than a bucket because it mimics rain better than a single pour.
- Watch the drain time. If the water disappears within 30 seconds and leaves no pool, the joints are open and taking water, and the base is draining. That’s a surface joint issue, not a base issue.
- Watch for pooling. If water pools for more than a minute in a defined bowl and drains only through the edges, the base has likely settled and lost its slope.
- Walk on the wet pavers. If individual pavers rock or flex when wet but sat solid when dry, the bedding sand is washing away instead of compacting.
- Check the soil at the edge of the driveway. If the surrounding soil is very sandy, drains fast, and shows water staining at the paver edge, subgrade movement is more likely.
If the water drains away cleanly but the joint sand is gone, reapplication of polymeric sand will usually resolve the problem for a full season. If the water pools and the pavers flex, the base underneath has settled or was never compacted to density. In that case, adding more joint sand just fills the symptom; within another wet season the joint opens again and the depression is back.
In North Miami Beach, the flat terrain means the drainage from a driveway depends almost entirely on the slope built into the base and the grading of the surrounding lot. A base that was set with only one percent fall toward the street drains reasonably well in the dry season and floods every afternoon thunderstorm in July. That’s a base problem, not a paver problem.
Why Efflorescence Looks Alarming (and Usually Isn’t)
A white, powdery haze that appears on travertine, concrete, and some clay pavers is efflorescence, and in most cases it is cosmetic. It’s mineral salt drawn to the surface as moisture moves through the paver and evaporates, leaving the salt behind as a film. In North Miami Beach’s humid summer air, pavers stay damp far longer than they would in a drier climate, so the salt has more time to surface.
Three things are true about efflorescence that most homeowners don’t hear:
- It almost always goes away. Left alone, rain and routine cleaning gradually rinse the salt away. On a properly installed driveway, efflorescence fades within a season or two.
- It doesn’t damage the paver. The salt sits on the surface. It doesn’t eat into travertine, concrete, or clay, and it doesn’t weaken the stone.
- Harsh cleaners can make it worse. A strong acid wash can pull more salt to the surface and vaporize the top layer of the paver, which dulls the finish and can void the manufacturer warranty.
For most North Miami Beach driveways, the right move is to wait it out, clean gently with a stiff brush and water, and let the paver dry. If the haze persists after a full season of natural rinsing and no visible new installation moisture is feeding it, the next step is a purpose-made efflorescence remover formulated for the paver material. The products we specify because they’re designed for the pacific-grade hardscape lines – manufacturers like Belgard, Unilock, Tremron, Techo-Bloc, and Cambridge Pavers – include cleaners from companies like SRW and Techniseal (their Efface line for efflorescence), which are formulated to remove the salt film without attacking the surface. Always check the paver manufacturer’s cleaning guidance before using any cleaner, because the wrong product can void the warranty independently of the labor contract.
One caution specific to travertine: it’s more sensitive to acidic cleaners than concrete paver. A cleaner that works beautifully on a concrete paver can etch travertine. Even SRW and Techniseal efflorescence removers need to be checked against the specific stone you have.
Root Intrusion from Ficus and Royal Poinciana
Tree roots can lift a driveway from below, and in North Miami Beach the two species that show up most often in paver damage are ficus and royal poinciana. Both are common in established neighborhoods, both produce vigorous surface roots, and both are frequently planted close enough to a driveway that the roots end up underneath it within a few years.
The trick is distinguishing a root problem from a base problem, because the repair is different. Use these signals:
- Roots at the edge only: The pavers closest to the tree are lifting or tilting, but the center of the driveway is flat. The tree’s roots have lifted the edge restraints or the first row of pavers but haven’t crossed the base yet.
- Roots in a line across the driveway: A ridge or hump runs perpendicular to the driveway from the tree. The root has crossed the sub-base. This is a base repair, not an edge repair.
- Pavers lifting along the fault: Individual pavers pop up or rock in a line following the root path. If you lift one paver there, you’ll find root material directly beneath the bedding layer.
- Ficus specifically: The roots spread aggressively at the surface and can travel under a driveway from 15 to 20 feet away. Royal poinciana roots are more likely to stay closer to the trunk but are powerful enough to crack edge restraints.
Edge restraint interference is often fixable without pulling up the driveway. Removing the offending root at the restraint, re-setting the edge, and re-bedding the first row of pavers can resolve a lot of what looks like a structural driveway failure. If the root has crossed the base or grown under the pavers enough to lift multiple rows, a section of the driveway needs to come up so the root can be cut and the base reconstructed.
Any root removal needs to respect the tree’s health, and in North Miami Beach the permitting authority should be consulted before cutting anything substantial – mature ficus and poinciana trees often carry protection status. We recommend getting that cleared before you cut, since it affects both the tree and how the excavation proceeds.
The Play Sand Mistake in the Bedding Layer
If the driveway was installed with play sand instead of concrete sand as the bedding layer, expect joint failure within a season or two, plus individual pavers that don’t sit flat. That’s not a matter of opinion; it’s about particle grading. Play sand is graded fine and uniform so it’s safe for sandboxes and smooth for children, which means it has almost no large aggregate to interlock and resist migration. Concrete sand is a mix of particle sizes and packs into a stable bedding layer.
How to identify play sand bedding after the fact:
- Joint sand keeps disappearing. Play sand pours out of the joints faster than it should and never stabilizes into a firm top layer.
- Pavers rock within months. Fine sand doesn’t lock the paver in place, so small paver movement develops early in the driveway’s life.
- Sand looks very uniform underfoot. When you sweep or brush the surface, the sand feels silky and consistent rather than gritty and varied.
- Visible sand migration after rain. Play sand washes out of the joints the first time a strong afternoon thunderstorm hits it, leaving visible gaps.
- Drainage issues at the paver surface. The joints clog with fine sand and stop taking water, and the driveway becomes slick even when the base is fine.
A proper re-bed repair involves pulling the affected pavers, removing the play sand fully, excavating down to the base aggregate, checking the base thickness and compaction, re-laying to proper slope with a corrective concrete sand bedding layer under the approved polymeric sand joint filler, then re-compacting the whole surface. This is not a spot fix; play sand in the bedding layer needs the affected area taken up entirely, and often the entire driveway.
When we’re called to a North Miami Beach home with play sand bedding, the conversation usually lands on a full re-lay of the surface with professional-grade materials. We specify Belgard, Unilock, Tremron, Techo-Bloc, and Cambridge Pavers because their manufacturer warranties are documented and transfer with the property, and the installation method each manufacturer specifies is the one that keeps the warranty alive. The material alone isn’t the warranty; the specification matters too.
How to Re-Set a Single Paver Without Voiding a Warranty
Re-setting a single paver that has worked loose is within reach for a homeowner with basic tools, but the process has to be done the right way, or it’ll void a contractor warranty in a hurry. The line is between re-setting a paver that has lifted cleanly and reconstructing a failed base. Only the first is a DIY job.
For a single paver that lifted cleanly and shows intact bedding beneath:
- Photograph the paver and surrounding joints before you touch anything. Document the condition so that if you later need a warranty claim, you have a record of what was structurally intact and what failed.
- Use a paver puller or two flat pry bars. Work at opposite corners, lifting evenly. Never lever off the adjacent paver’s edge or you’ll chip it. If the paver resists and doesn’t want to come up, stop; it may be set with an epoxy compound that means the repair is beyond DIY.
- Clean the paver’s sides and bottom. Remove old joint sand and any dried bedding material. Use a stiff brush, not a chisel or wire wheel, which can scar the edges.
- Examine the bedding. If you see play sand or a washed-out layer, stop the DIY re-set. That’s a bedding failure and needs the affected area taken up. If the bedding looks like proper concrete sand and is intact, you can re-set.
- Spread a thin layer of concrete sand (not play sand) to bring the paver back to level. Not more than about a quarter inch. Overfill and then compact the paver down to match its neighbors.
- Set the paver and check flatness with a 4-foot level across the joint. It should sit flush with the surrounding pavers, or a hair below, never proud.
- Reapply polymeric sand to the joint. Sweep it in dry, mist with water to activate, and let it cure per the manufacturer’s guidance before foot traffic.
A few tool notes: you’ll want a paver puller (two suction-cup or plier-style), two flat pry bars, a rubber mallet, a 4-foot level, stiff brush, and a bag of the correct polymeric joint sand. Wear gloves and eye protection when sweeping sand, and don’t skip the level check.
What voids a warranty: pulling pavers that weren’t loose, using play sand or the wrong bedding material, damaging the edge restraints, using chemical cleaners to try to solve a problem that’s actually a base issue, and doing any re-set on a paver that has a manufacturer chip or crack. If a paver is broken, replacing it with the same model and color is preferable to re-setting it, because the match must be exact for the warranty to extend.
For anything larger than a single paver, or if the paver won’t lift cleanly, the repair is a contractor job. The difference between a proper re-set and a sloppy one is measured in wet seasons too, not in days. A paver that’s been re-set on a sound base will hold. A paver set on a compromised base will fail again.
When to Call a Professional vs. When to DIY
Call a professional for any paver problem that runs deeper than a single loose stone or a fresh joint that just needs sand. The cost of a contractor visit is small compared with the cost of a repair that fails again next season, and the warranty on the labor only means something if a professional did the work in the first place.
Here is where the line falls in our experience:
- DIY-friendly: One or two pavers that lifted cleanly and show intact bedding beneath, joint sand that’s washed out but the pavers are flat, minor efflorescence that’s responded to cleaning.
- Call a professional: Any depression that returns within 18 months of a previous repair, a bowl-shaped area that pools water, roots that have crossed the base, play sand bedding, a cracked or chipped paver you can’t source a replacement for, and anything involving edge restraint replacement.
- Call before doing anything: Any paver failure at the edge restraint or next to a retaining wall, because a compromised restraint can shift the entire driveway in one wet season.
If your paver troubleshooting turns into a larger project – a new driveway, added parking, or a re-grading of the lot – the scope is often best handled alongside other exterior work. A North Miami Beach property that needs driveway work and a fence replacement is a candidate for a single contract rather than two, since the grading and drainage are shared. That’s where fence installation and other exterior trades overlap with the driveway scope.
For homes considering added square footage alongside driveway work, prefab options from Mighty Buildings and Boxabl can change how the driveway is used and where it leads, so the layout question gets answered before the pavers go down. If your project includes that kind of scope, our page on home additions & ADU is the place to start.
What Does Driveway Paver Repair Cost in North Miami Beach?
Driveway paver repair in North Miami Beach typically runs from roughly $400 to $900 for a single-paver pull-and-reset with joint sand, several hundred to about $2,000 for a partial section re-bed, and $4,500 to $9,500 or more for a full driveway re-lay depending on square footage and material. The written estimate from a contractor sets the final price; the numbers here are typical ranges, not quoted job costs.
| Repair type | Typical estimated range | What it covers |
|---|---|---|
| Single paver re-set with joint sand | $400 – $900 | One to three pavers pulled, bedding corrected, polymeric sand reapplied |
| Partial section re-bed | Several hundred to ~$2,000 | Section of pavers pulled, bedding replaced with concrete sand, edge restraint checked |
| Root removal and base repair | Section-dependent, estimates per job | Excavate, remove root, rebuild base, re-lay pavers, re-sand |
| Full driveway re-lay | $4,500 – $9,500+ | Pavers removed, base corrected, all pavers re-laid with new bedding and joint sand |
Material costs drive the upper end of these ranges. Travertine costs more than concrete paver, and a driveway laid with Belgard, Unilock, Tremron, Techo-Bloc, or Cambridge Pavers runs higher than a commodity paver from a big-box store. The material grade is what determines the warranty structure and the price; a lower-priced material often comes with a weaker warranty, and the labor to install it properly is close to identical. That’s why value should be measured against material tier, not against the lowest number on an estimate.
For an accurate number for your North Miami Beach driveway, schedule a free estimate. The written, line-item estimate sets the final price and tells you exactly what’s being repaired and what’s being replaced.
If your repair is part of a broader exterior scope, the same estimate can cover the driveway and the rest of the exterior in one contract – from the driveway to your roofline. A single source for the driveway, the fence, the windows, and the roof eliminates the juggling between trades that usually drives small failures into bigger ones.
Common Mistakes to Avoid
- Fixing the joints when the base is failing. Reapplying polymeric sand over a settled base looks like a repair for one season, then the depression returns. The sand is a symptom treatment, not a repair.
- Using play sand as bedding. It’s fine for sandboxes and wrong for paver beds. Play sand doesn’t interlock, so it migrates and leaves the pavers rocking. Concrete sand is the only bedding material that holds.
- Pressure-washing at high pressure to remove efflorescence. High-pressure washing blasts the surface off travertine and drives play sand out of joints. Use a stiff brush, plain water, and a purpose-made cleaner if needed.
- Cutting roots without checking status first. Ficus and royal poinciana often carry protection in North Miami Beach, and cutting without clearing it can create a legal problem on top of the driveway problem.
- Setting a paver proud of its neighbors. A paver that sits higher than the surrounding surface will lift the edge of its neighbors within a season. It should be flush or a hair below.
- Repairing a small section before checking the whole driveway. A single failed paver is often a symptom of the same base problem nearby. Repairing one and ignoring the rest just moves the failure over.
- Buying the cheapest paver for a full re-lay. Cheap pavers often come with warranties that are worth very little, and the labor to install them is the same as warranted brand-name material. The material is only part of the value; the warranty behind it is the rest.
See the difference
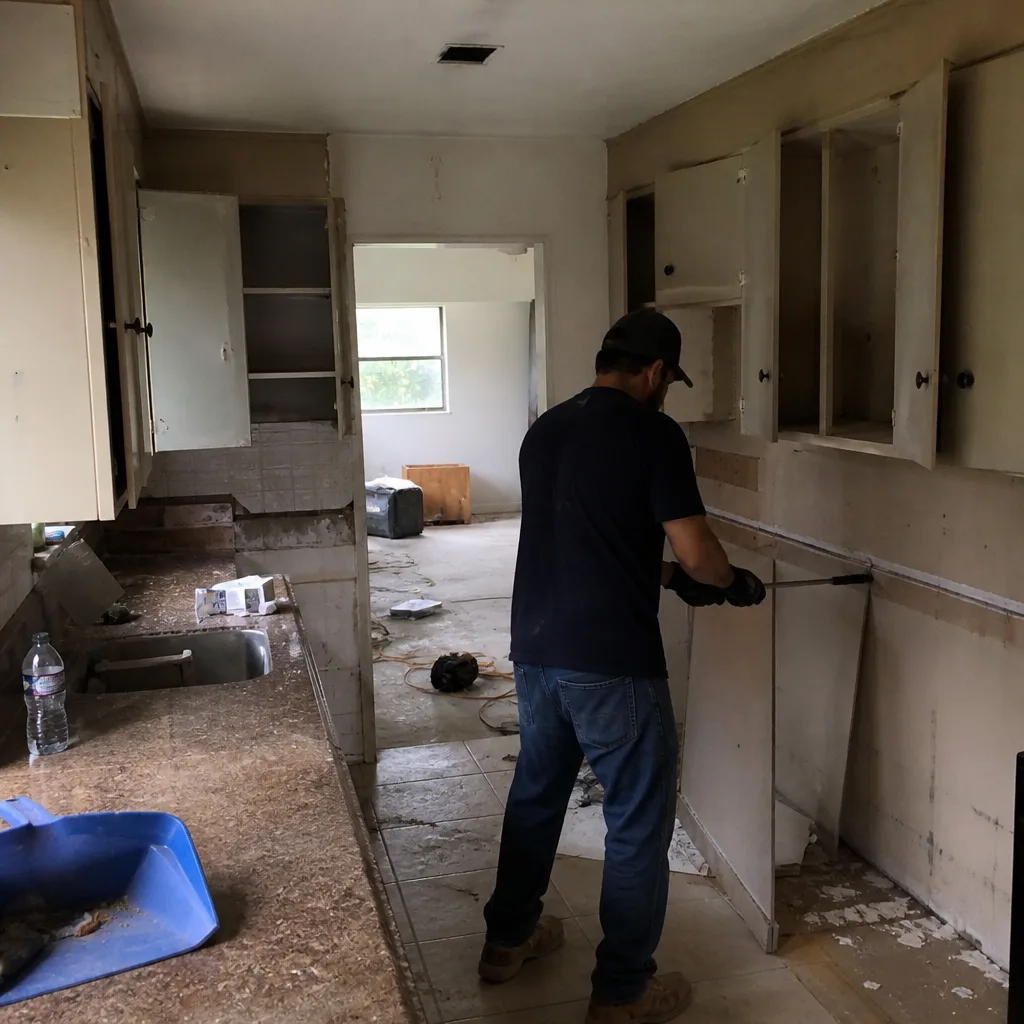 Before
 After
 Before
 After
 Before
 After
When to Call a Professional
Call a professional when the problem is a base failure, a root that has crossed the sub-base, play sand in the bedding layer, a returning depression, or any paver failure near an edge restraint or retaining wall. Those are the situations where DIY re-sets don’t hold through the wet season and often make the eventual repair larger. Call us if you’re not sure which layer has failed; the diagnosis is part of the estimate, and we can usually tell from a site visit whether you’re looking at a joint fix or a full re-bed.
North Miami Beach Construction offers free estimates in North Miami Beach – call (844) 651-6043. We answer 24/7, and fast dispatch from 7am to 7pm, Sunday through Friday. The written estimate sets the price per job.
If your property is planning more than a driveway repair, remember that the same company handles North Miami Beach Construction work across seven trades, including home additions & ADU and fence installation, which means the drainage and grading questions get answered together instead of by three different contractors. Our technicians have up to 9 years of experience with driveways, hardscape, and the local soil conditions that drive most of the failures we see.
Frequently Asked Questions
A single-paver re-set with fresh joint sand in North Miami Beach typically runs $400 to $900, while a partial section re-bed runs several hundred to about $2,000, and a full driveway re-lay runs $4,500 to $9,500 or more depending on size and material. The written estimate sets the final price, so call (844) 651-6043 for an exact quote – estimates are free.
They sink because the base beneath them was installed without accounting for the soil saturation that comes with the summer wet season, or because the base wasn’t compacted at the correct moisture content. A paver sitting on a stable base doesn’t move; a paver on an unstable base sinks a little each wet season until it becomes a bowl. Call (844) 651-6043 for a diagnosis before you spend money on sand that won’t fix it.
Almost never. White efflorescence on travertine and concrete pavers is a cosmetic salt film that rinses away over a season or two, and it doesn’t damage the stone. Use a stiff brush and water first; only move to a purpose-made efflorescence cleaner like SRW or Techniseal Efface if it persists, and check the paver manufacturer’s guidance before applying anything acidic to travertine. Call (844) 651-6043 if the haze is spreading, since a persistent film can point to a moisture problem below.
No. We work from a written line-item estimate and set the price per job before work starts, so there are no change orders for the scope we’ve quoted. If the base condition turns out worse than the surface suggested and requires a larger excavation, we’ll show you the additional scope and price it before proceeding. Call (844) 651-6043 to schedule your free estimate.
Yes, and in North Miami Beach those are the two species that show up most often. Ficus roots can travel 15 to 20 feet under a driveway and lift pavers from below; royal poinciana roots tend to stay closer to the trunk but can lift edge restraints. If the roots have crossed the base, the section has to come up; if they’ve only moved the edge, a restraint repair can resolve it. Call (844) 651-6043 and we’ll tell you which one you’re looking at.
Yes. Where a repair or re-lay touches the base, edge restraints, or the grading of the lot, permits may be required, and we handle pulling them and passing the inspections where they apply. For a single-paver re-set or a joint-sand refresh, permits are typically not required. Your written estimate will say what’s covered. Call (844) 651-6043 to set up a free estimate and walk through the permit question for your specific project.
The Bottom Line
Almost every paver problem that comes back after a repair is a base problem that was diagnosed as a surface problem. That’s the short version. The longer version: your pavers are the part that isn’t usually at fault, and the money spent fixing them is usually spent in the wrong layer. The water-drain test, the checklist of symptoms, and the line between DIY re-sets and contractor work should tell you which problem you’re actually facing. If the answer is “base failure” or “play sand bedding” or “root across the sub-base,” the fix is a contractor job, and the estimate is the only way to know whether the fix is $500 or a full re-lay. We specify professional-grade materials from Belgard, Unilock, Tremron, Techo-Bloc, and Cambridge Pavers because the warranties transfer with the property and hold up through a wet season. Manufacturer-warranted materials, verified installation, and a written price that doesn’t change mid-job.
Call (844) 651-6043 for a free estimate. We answer 24/7, and fast dispatch from 7am to 7pm, Sunday through Friday. We’re not on Saturday; if you reach out over the weekend, your request is booked into the next opening on Sunday.
Written by the team at North Miami Beach Construction.